Google Slides is a popular tool for creating presentations, but sometimes, you may want to change the slide orientation from horizontal to vertical. If you’re wondering how to make Google Slides vertical, this guide will show you the simple steps to do so. A vertical slide layout is useful for creating posters, flyers, or any content that requires a portrait format. Follow these easy steps to switch your slide orientation and enhance your presentations.
Free PowerPoint Template & Google Slides Theme
Why Make Google Slides Vertical?
Many people are used to the default horizontal layout, but certain projects may require a vertical format. For example:
- Posters and Flyers: Portrait orientation fits better for these kinds of designs.
- Mobile-friendly presentations: A vertical layout is more compatible with mobile devices, as most users hold their phones in portrait mode.
- Infographics and Print Materials: For content that you intend to print, a vertical slide makes it easier to fit more information in a readable format.
Steps on How to Make Google Slides Vertical
1. Open Your Google Slides Presentation
The first step is to log in to your Google account and open the presentation in which you want to change the orientation. You can either create a new Google Slides presentation or work with an existing one.
2. Access the Page Setup
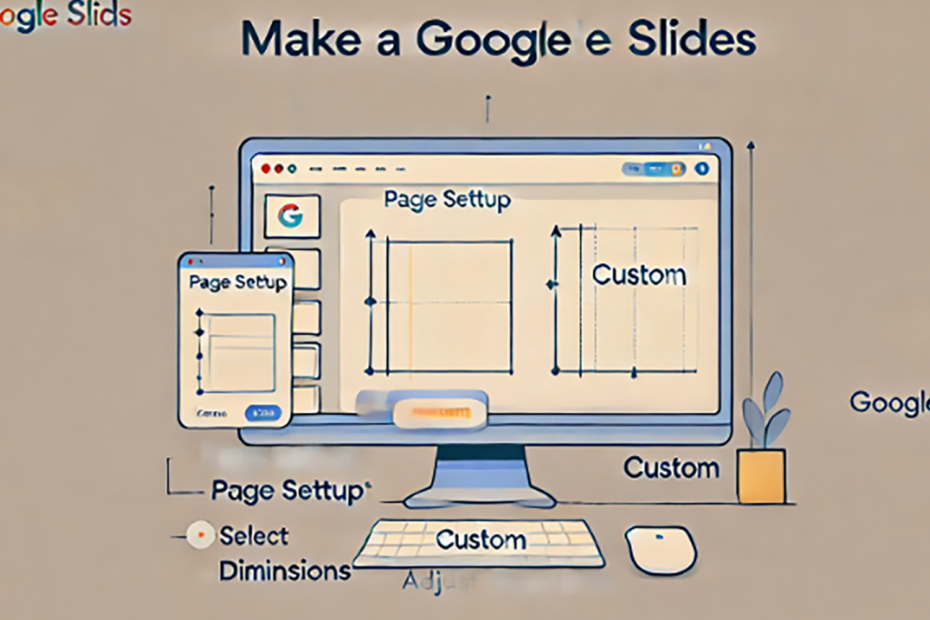
Once your presentation is open, click on the “File” menu located at the top left corner of the screen. A drop-down menu will appear. Scroll down and click on “Page setup.” This is the key step on how to make Google Slides vertical as it allows you to adjust the dimensions of your slides.

3. Change the Slide Dimensions
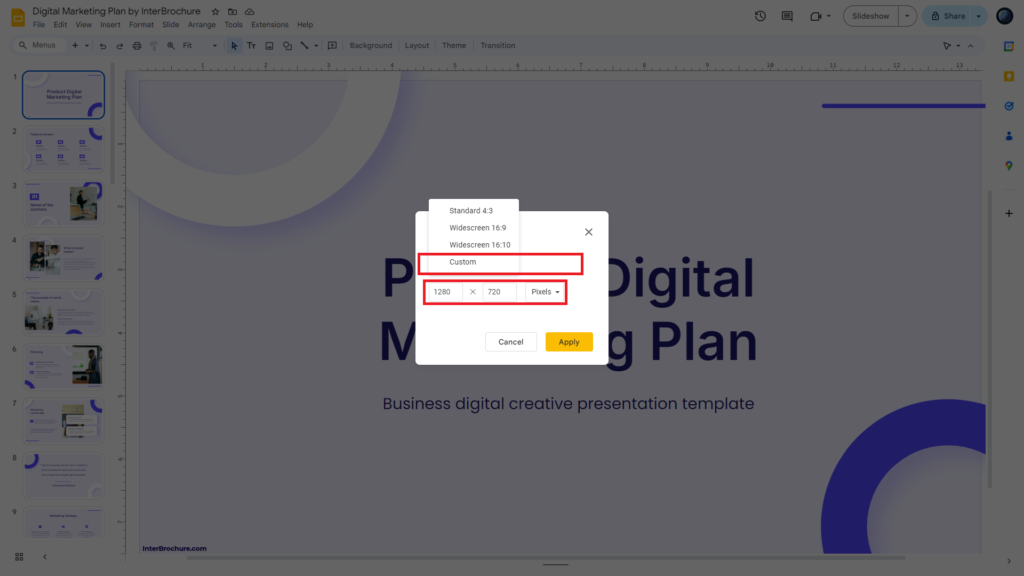
A dialog box will pop up with the current slide dimensions. By default, Google Slides uses a 16:9 landscape ratio. To make the slide vertical, select the “Custom” option from the drop-down menu. Now, to create a vertical orientation, you’ll need to switch the width and height dimensions. Enter the desired height as the larger number and the width as the smaller number.

For example, you can input 8.5 inches for width and 11 inches for height to create a portrait slide similar to a letter-sized page.
4. Apply the Changes
After setting your preferred dimensions, click “Apply.” This will automatically change your slide to a vertical orientation. Now, you’ve successfully learned how to make Google Slides vertical! You can now add text, images, and other content as usual.
Tips for Using Vertical Google Slides
Once you’ve completed the process on how to make Google Slides vertical, it’s important to optimize the layout for this new format. Here are a few tips to enhance your vertical presentation:
- Adjust Text and Images: Because the layout is narrower, make sure to resize your text boxes and images to fit appropriately.
- Use Columns: To keep your content organized, consider splitting text into columns or using grids to ensure everything fits well.
- Design for Mobile Viewing: If your presentation is intended for mobile users, test how it looks on a mobile device in vertical mode to ensure it’s easy to read.
Conclusion
Learning how to make Google Slides vertical is a quick and easy process that can be highly beneficial for various types of projects. Whether you’re designing for print, creating a mobile-friendly presentation, or developing a vertical infographic, changing the slide orientation gives you more flexibility. Just follow the steps outlined above, and you’ll be able to create beautiful vertical slides in no time.


